Conversion of a Kodak DC-3400 for IR capture
The conversion of a Kodak DC3400 point & shoot for infrared capture is not a
very complicated operation. As far as tools go you do not really need
anything else than a smal Phillips screwdriver and a pair of tweezers.
A reasonable amount of manual dexterity is required too, be too heavy handed
and you can easily wreck your little Kodak.
A clean desk and proper
lighting are for obvious reasons also recommended. Some small containers
for the screws you will be removing are useful, especially because the
screws are not all the same length.
Take reasonable precautions against
discharge of static electricity, these can wreck the electronics. If you
do not want to spend ages to remove dust specks that have ended on your
CCD make sure your work area is clean. Really clean.
Last but not least: don't poke in the inside of the camera where the flash
circuitry sits. The voltage in the flash capacitor is nasty at best!
Note that my camera had suffered some
gravity induced damage (== it was dropped, most likely multiple times)
before I acquired it on eBay.de for a couple of EUROs. Some pictures
are from the second camera I converted, that one looks better.
I have outlined how to accomplish it in a step-by-step photo shoot.
- Preparation steps: remove the batteries and the CF flash card from the
camera.
- Once done, you have to remove the bottom cover of the camera.
3 Phillips head screws are
holding it in place. Remove them, then remove the bottom cover along with the
door of the battery compartment. The picture shows the resultant
situation.
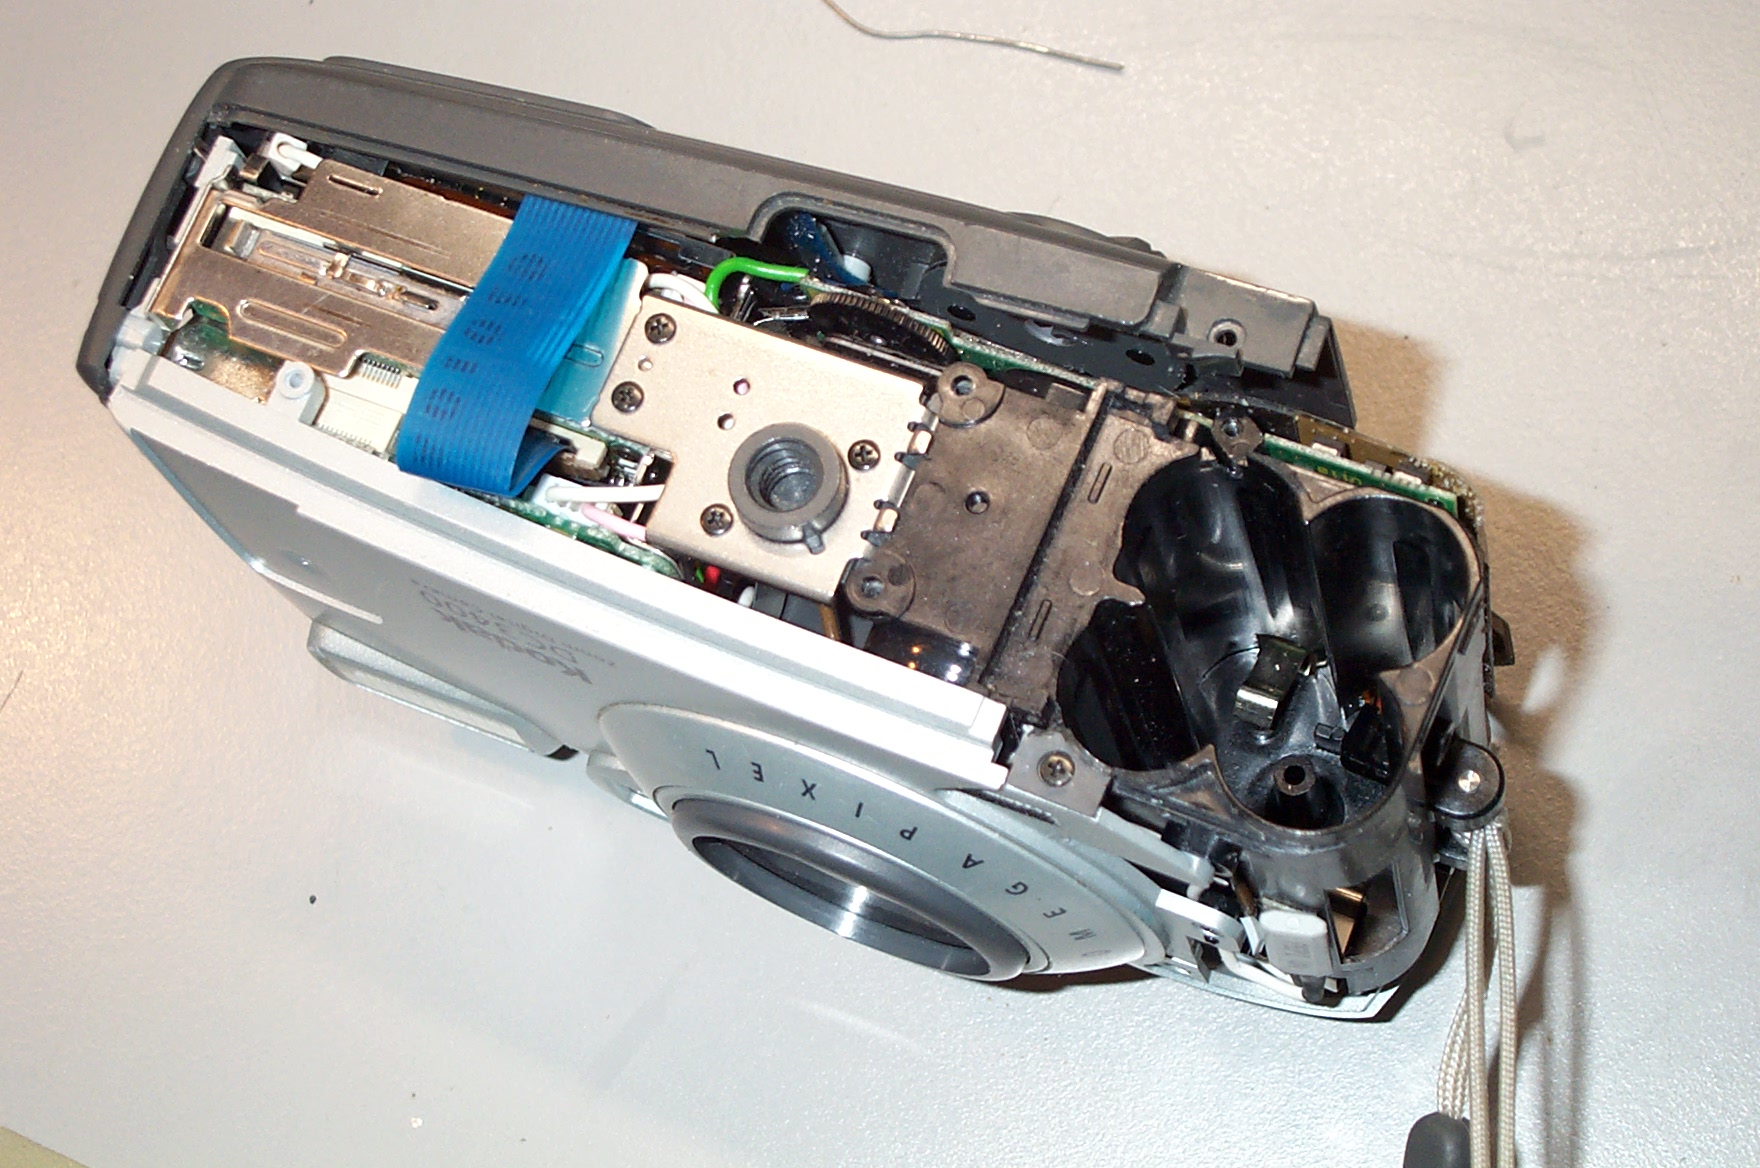
- Next remove the righthand cover of the camera. 2 screws are holding it
in place. Remove the screws, then remove the cover.

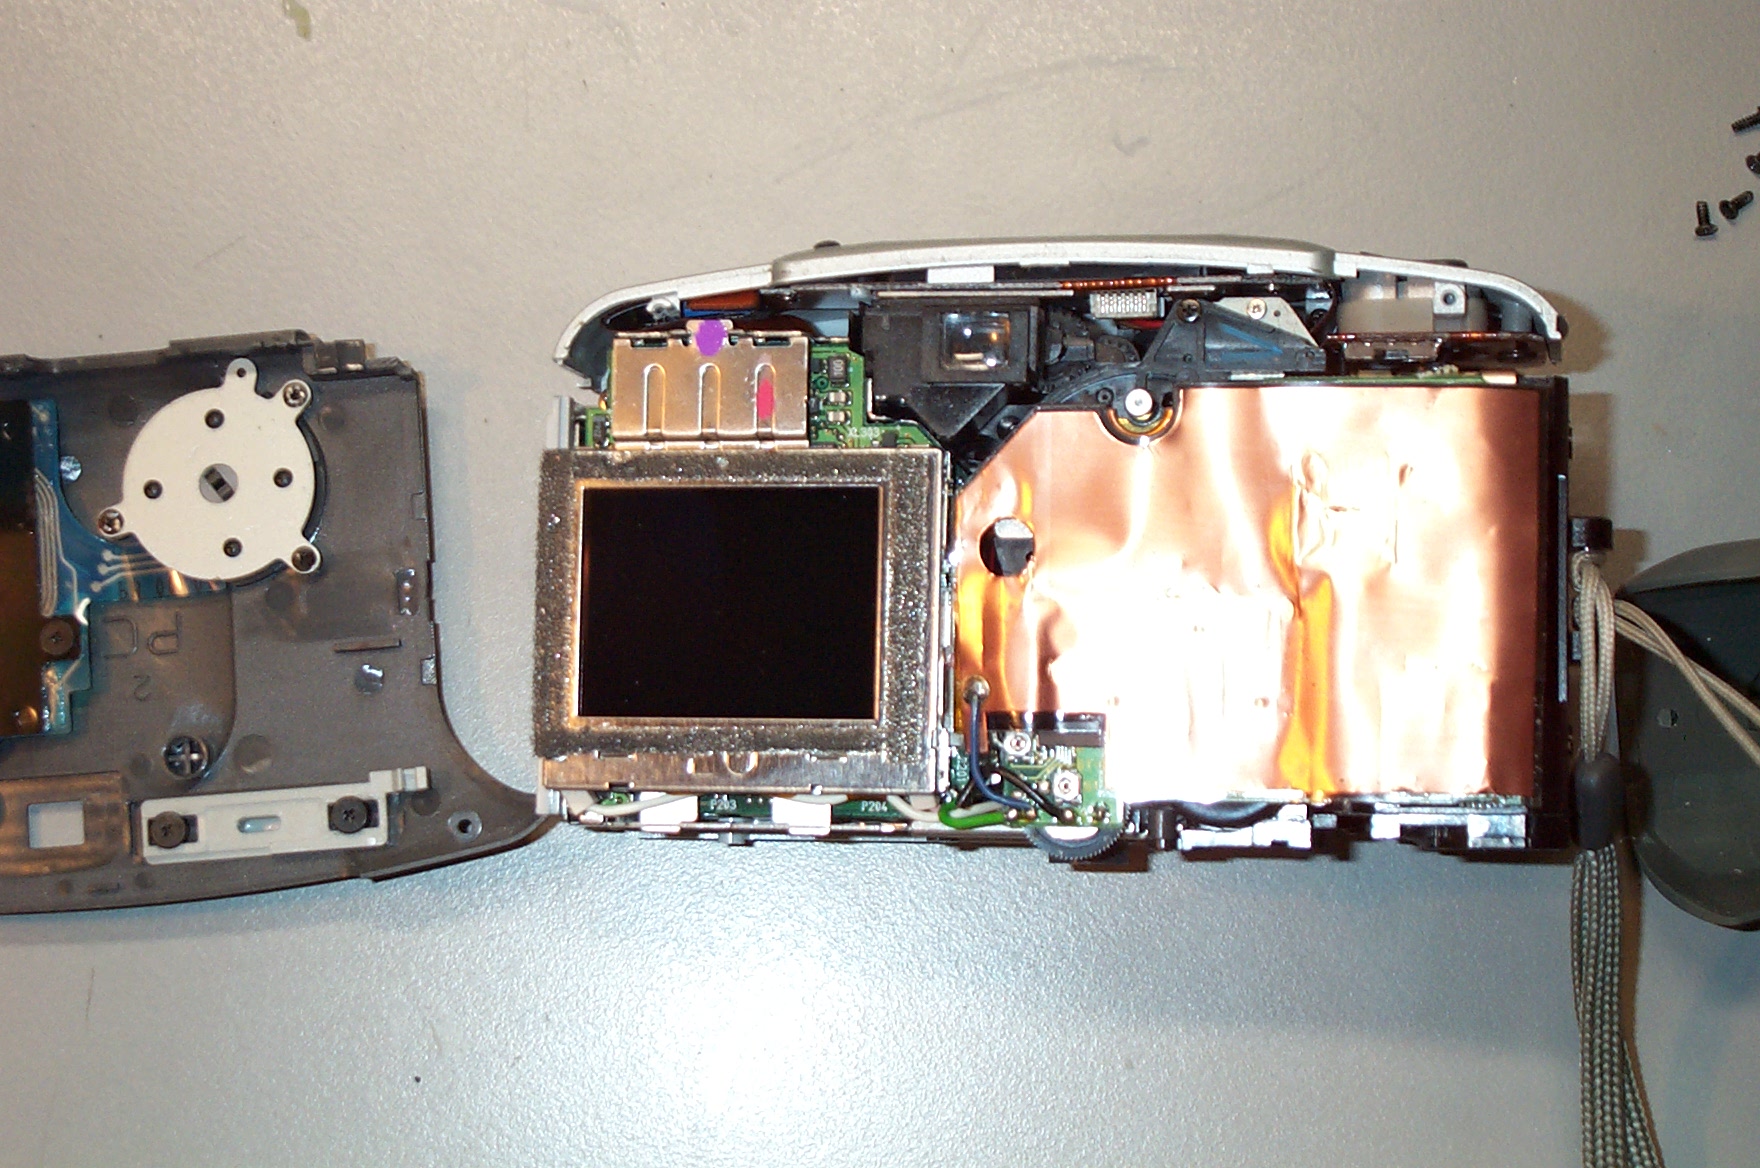
- With the two covers removed you just have to remove the back cover by
removing 5 screws holding the back cover in place. Don't forget the lone
screw that lives on the bottom of the camera, next to the battery door
hinge.
Now gently remove the
back cover to avoid breaking the left hand side of it that contains the
door for the CF card. The buttons and selector switch on the
back cover are connected to the electronics module in the camera body
so don't wreck that flex wire. I opted to temporarily disconnect the
flex wire from the main circuit board. This makes the rest of the
operation much easier.
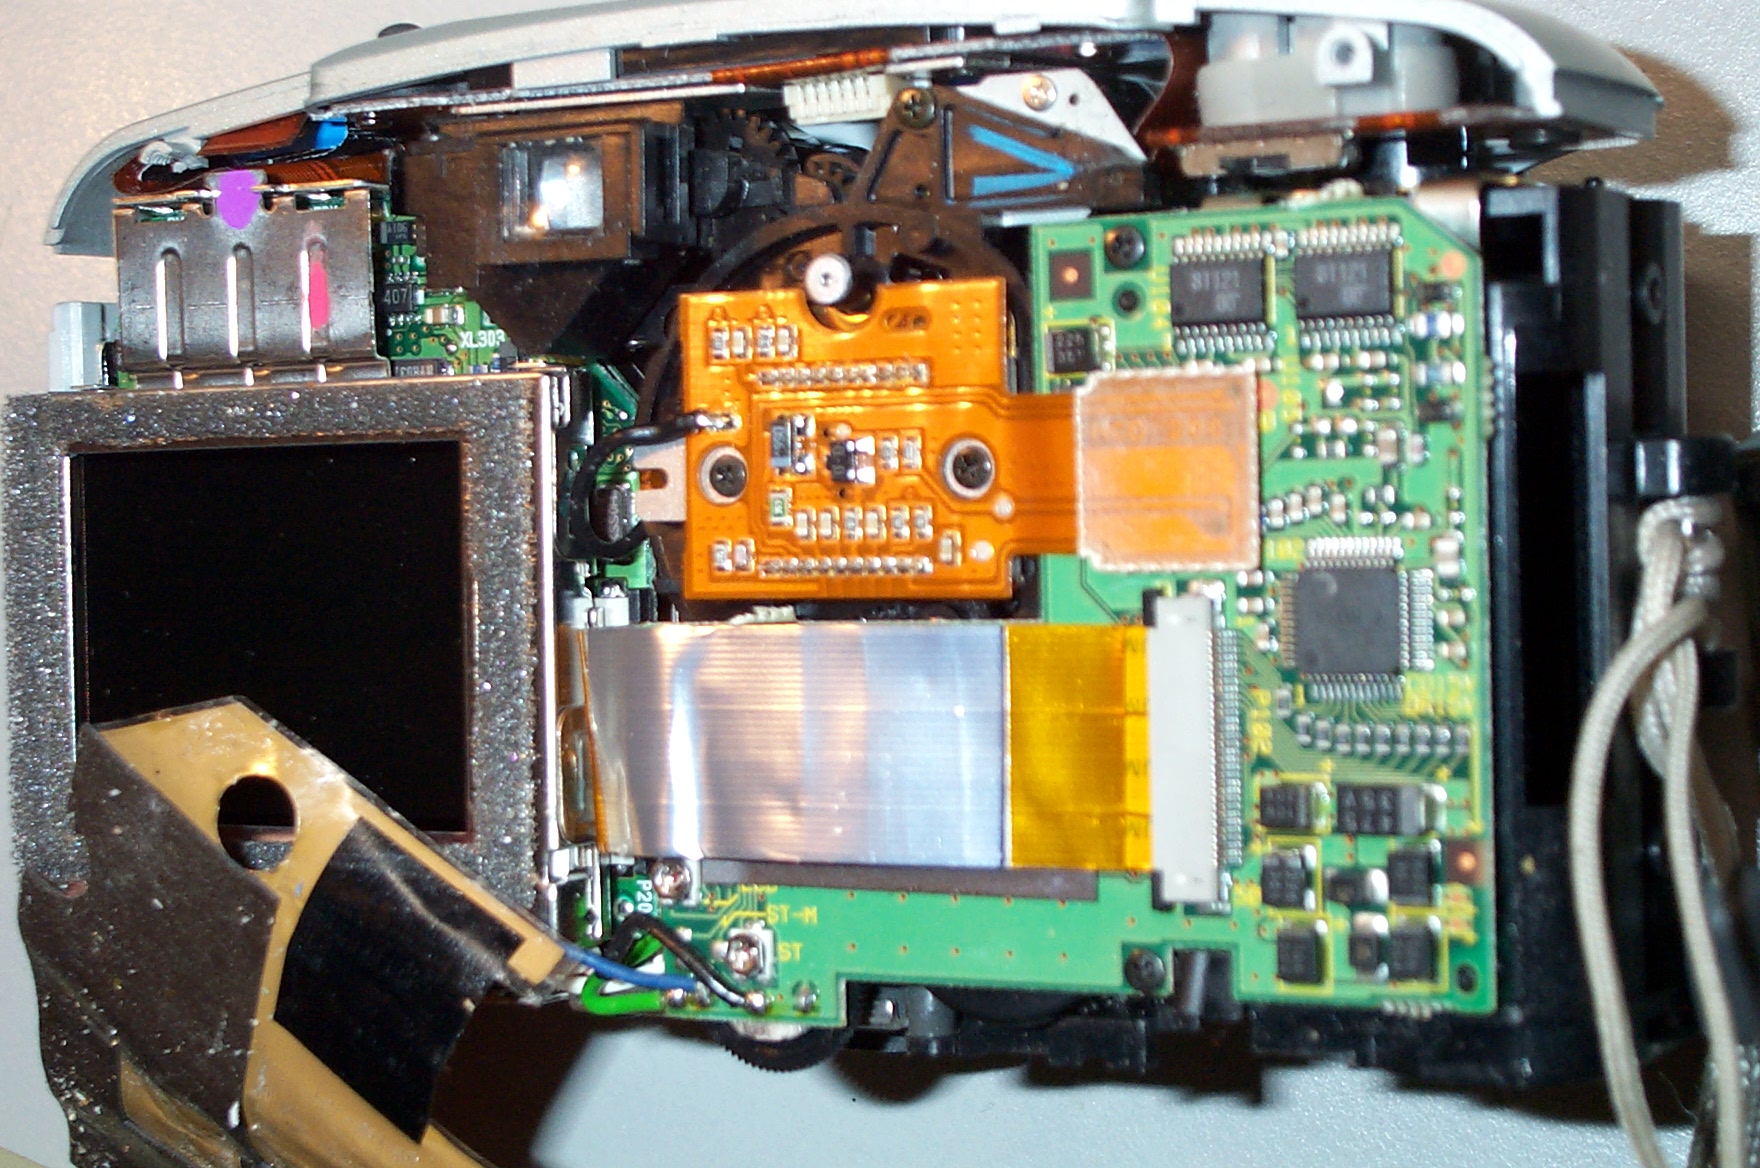
Once you have done all this you are greeted by a plastic coated piece
of copper shielding material along with a closer view of the LCD screen.
The shielding is glued onto the back of the electronics with some
dual-sided adhesive tape. Gently pry the shielding loose.
The sticky tape will stay in place and can be re-used.
- Note that the copper shielding is connected to the electronics with a
piece of wire (the blue wire just above the tripod socket). So you either
have to unsolder it, or just gently push the copper shielding aside while
keeping the wire connected to the camera. I did the latter.
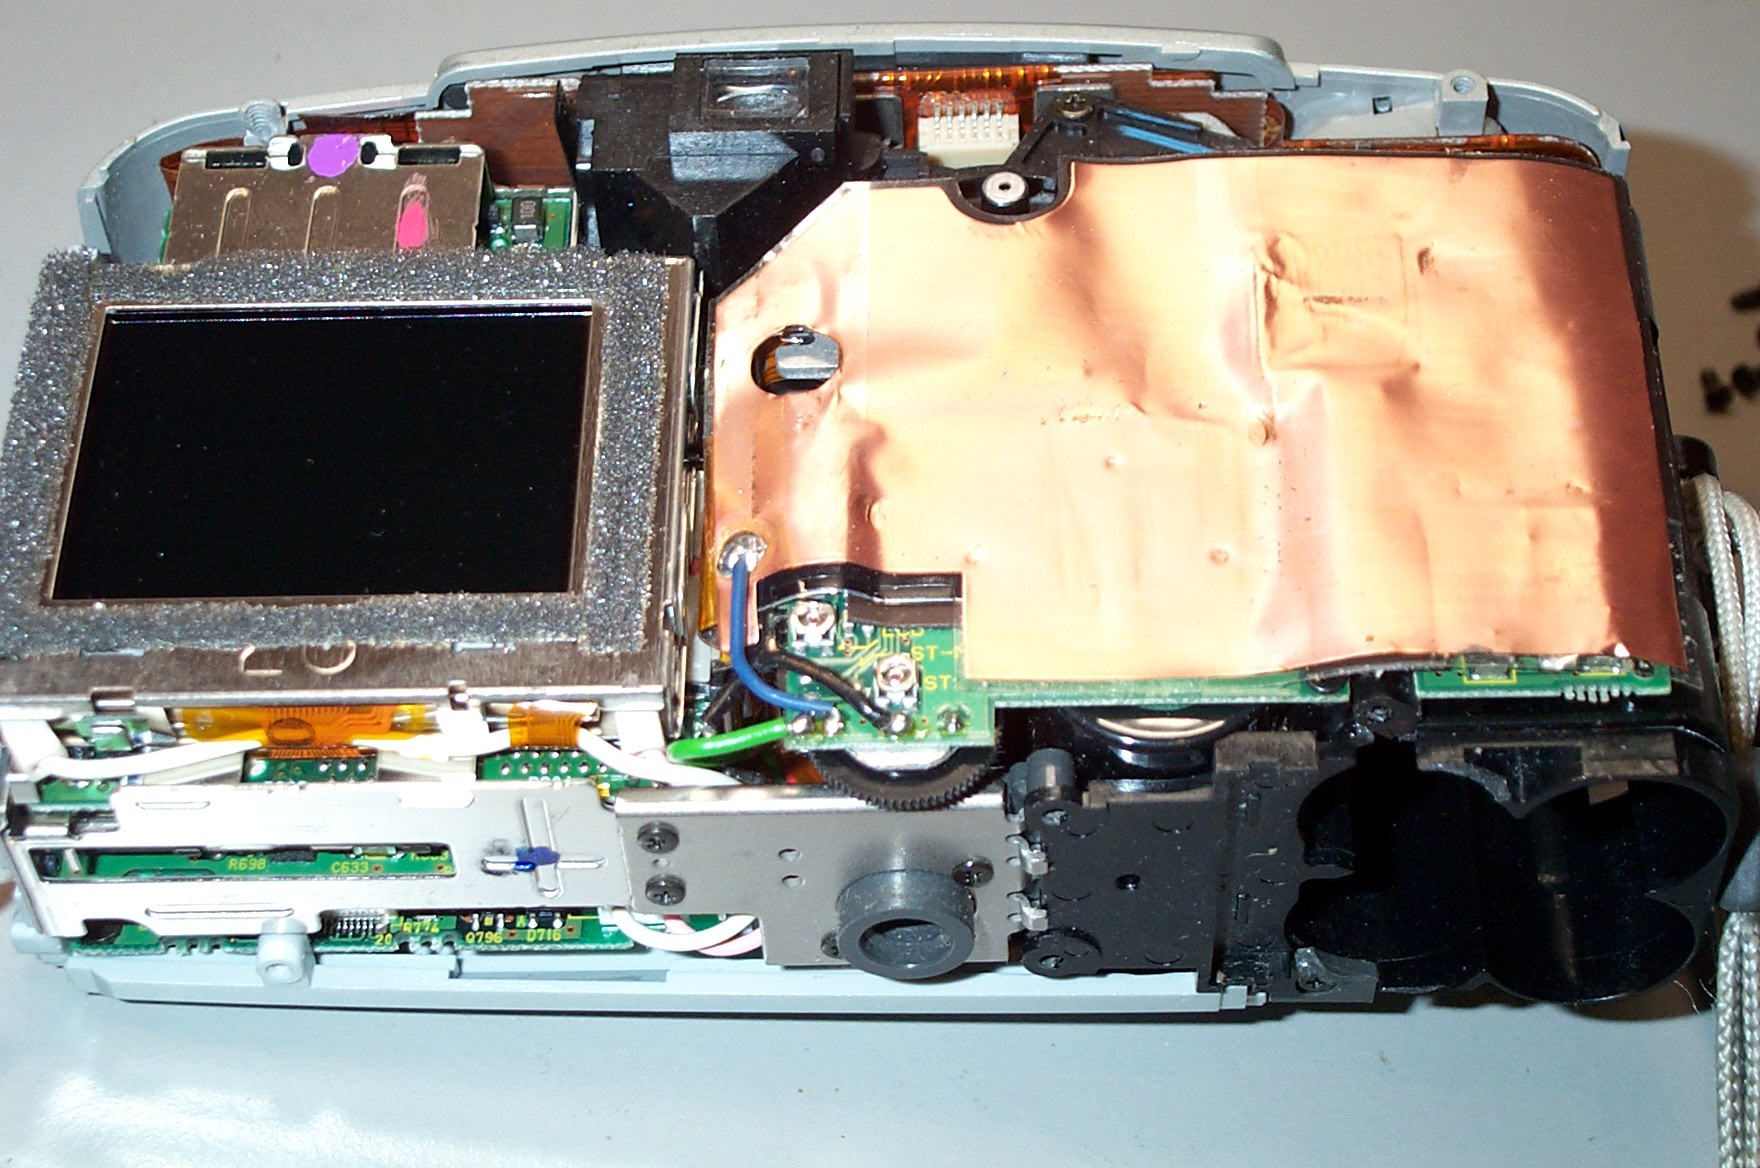
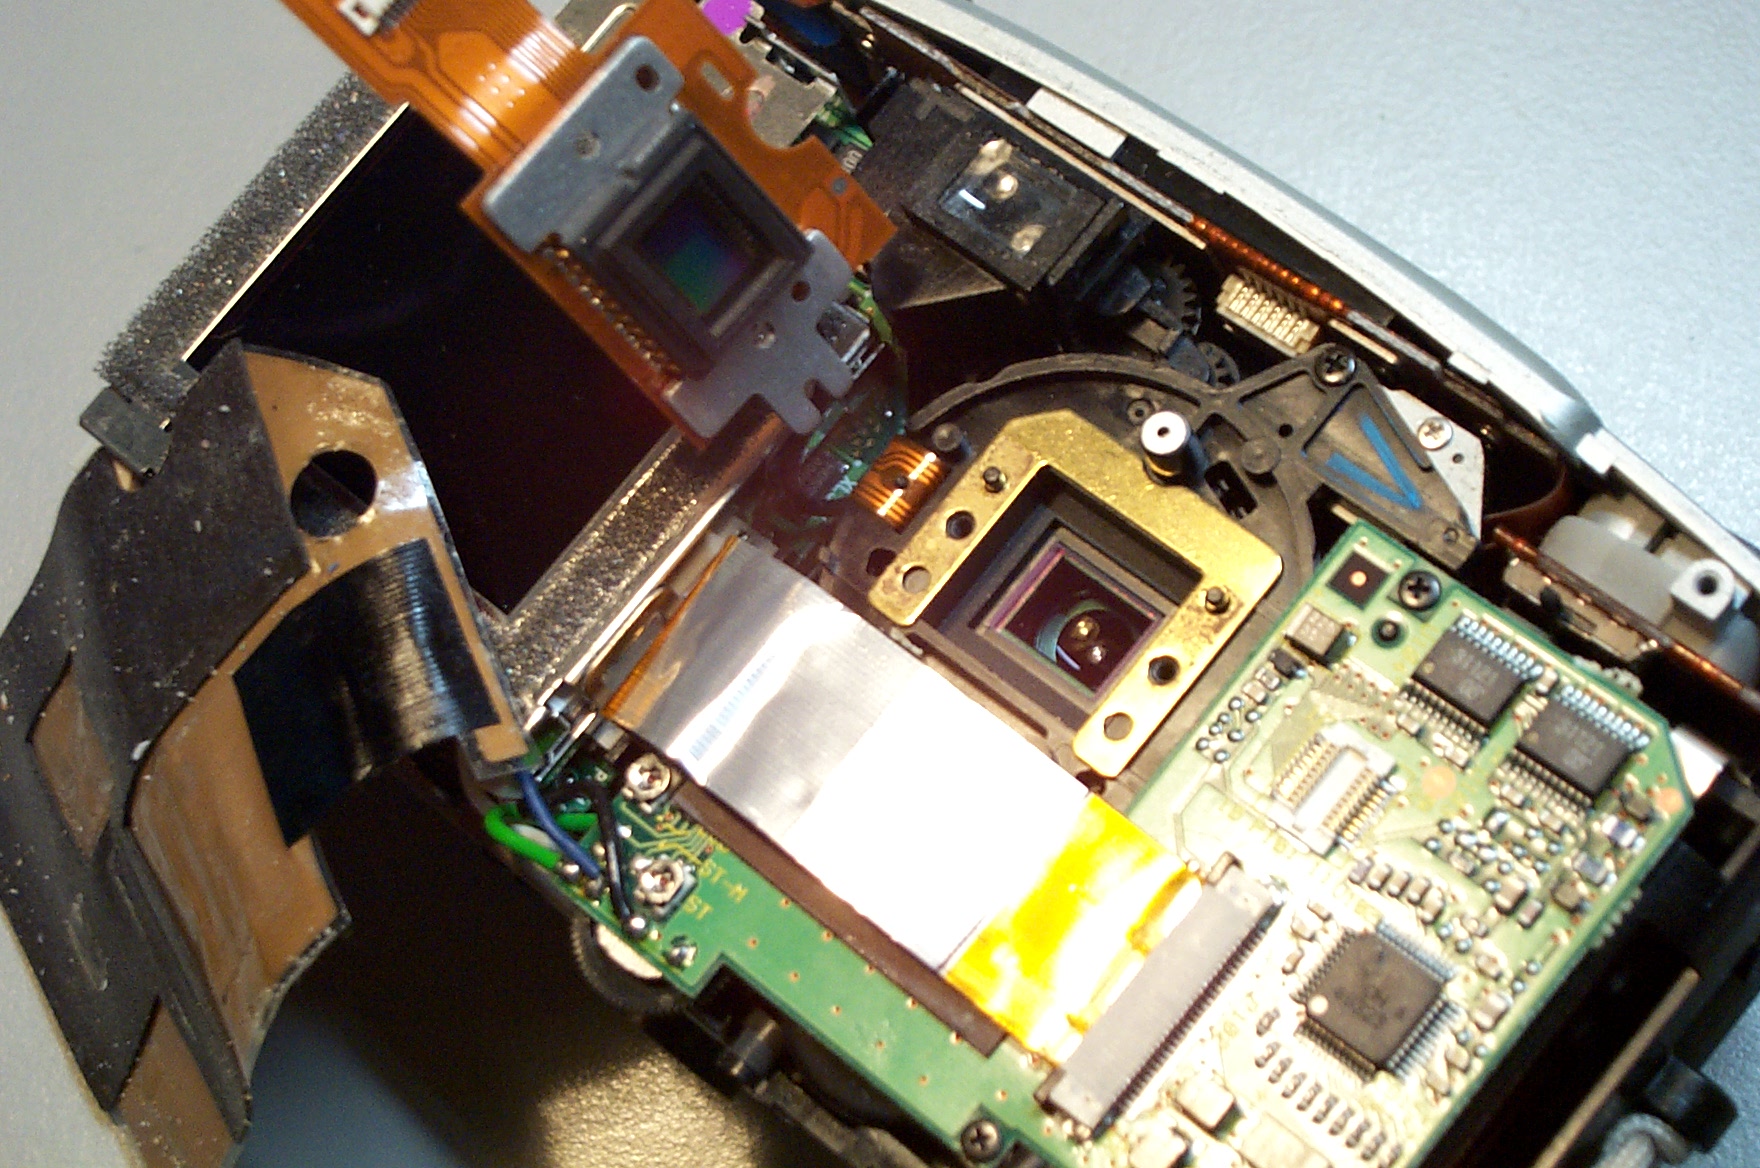
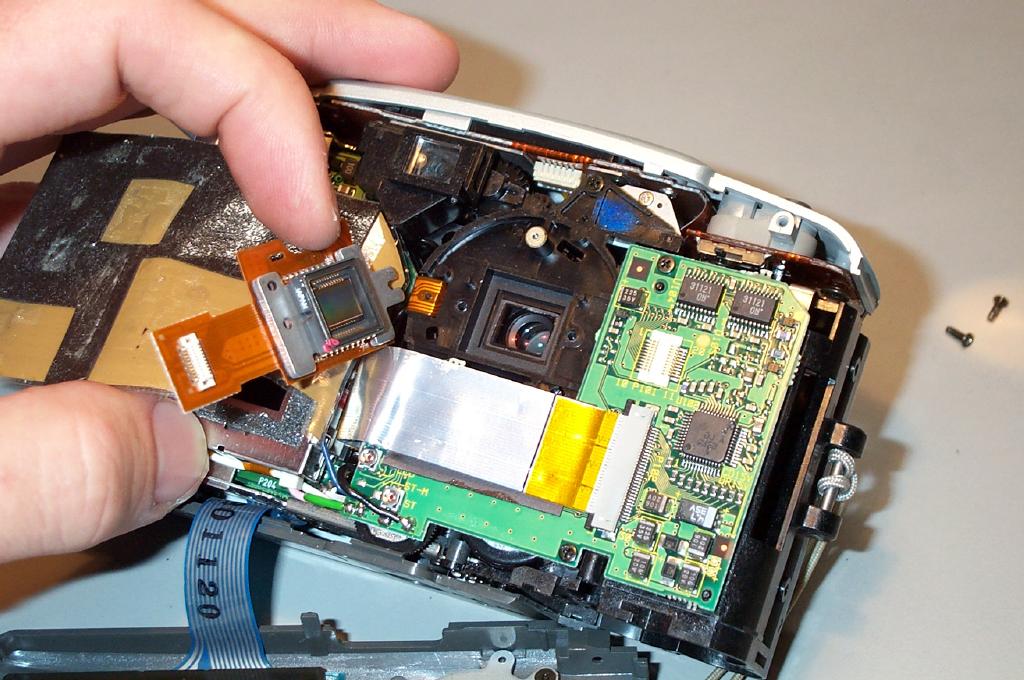
- Once you have taken the shielding aside,
you will find the CCD sensor in the middle, mounted on a copper
colored piece of flex-wire
circuit. The flex-wire is connected to the main (green) electronics
module with a tiny (really!) connector. You have to unplug
that connector from the corresponding socket on the green circuit board.
It might have been unplugged already when you pulled the shielding out.
Gently put
a fingernail under the rim and pull gently towards you. The
connection between the sensor and the green circuit board is now broken.
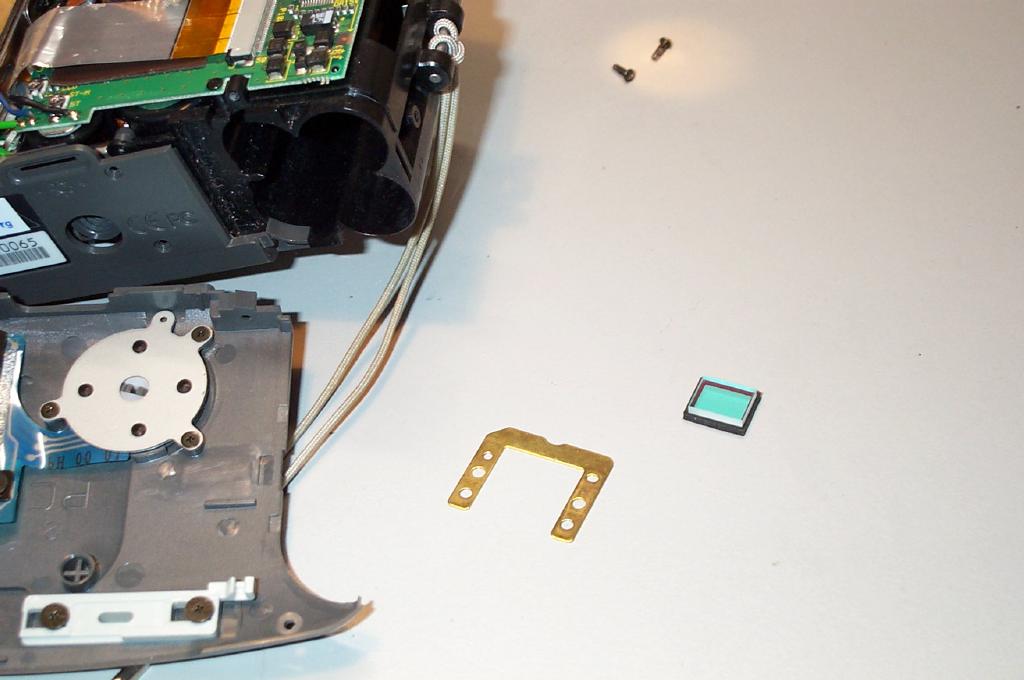
Subsequently remove the 2 screws that hold the sensor module in place.
- Once the previous step is completed you can simply lift the sensor
module and put it aside to the left.
Keep dust, tools and finger prints far far from the CCD sensor.
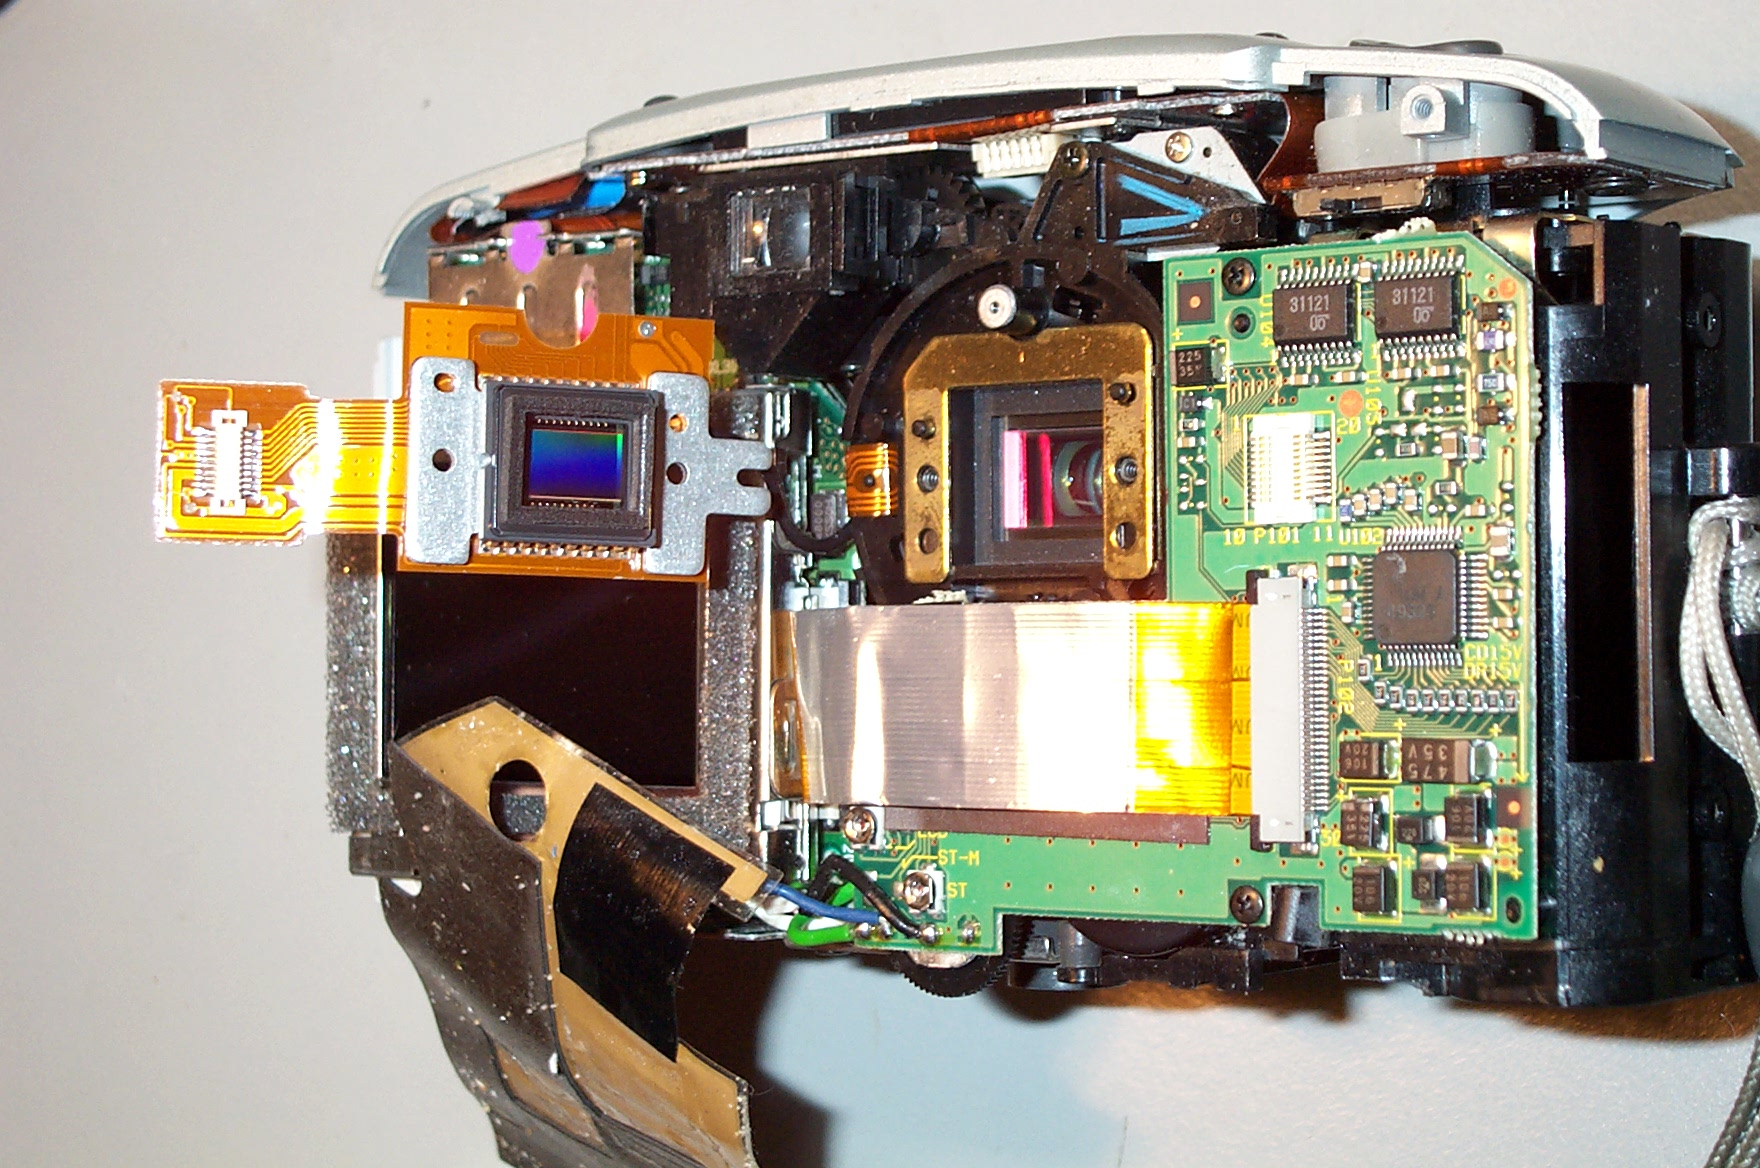
- Peering inside you will see the IR blocking filter. It has a purplish
tint on both sides of the glass. The picture below shows the filter sitting
on the little rubber gasket.
It is not glued in or whatever, you can
simply get it out by holding the camera with its back down to mother Earth.
Note: the filter is tiny, about 7.7x10mm. Thickness is about 1.75mm.
You want to retain it, you need it if you decide to re-build the camera
for conventional use. Apart from that, the optical system is designed to
produce sharp images only with a piece of glas of appropriate thickness in
place. A shot taken without any glas in front of the CCD sensor is really
unsharp.

The IR block filter appears to have a filter layer deposited on it
(by CVD I guess). I could not find a piece of replacement glass of the
correct thickness so I first tried a piece of slightly thinner glass cut
(well, broken) from a microscope objectglass, subsequently ground to
shape with wet&dry sandpaper. That helped a lot with sharpness already.
But completely satisfying it was not. So, at a later stage I acquired
some extremely fine polishing powder (thanks Andre!) This
stuff is normally used by amateur geologists polishing their stones/gems.
I gently ground the filter layers off the original filter. That solved
the thickness problem.
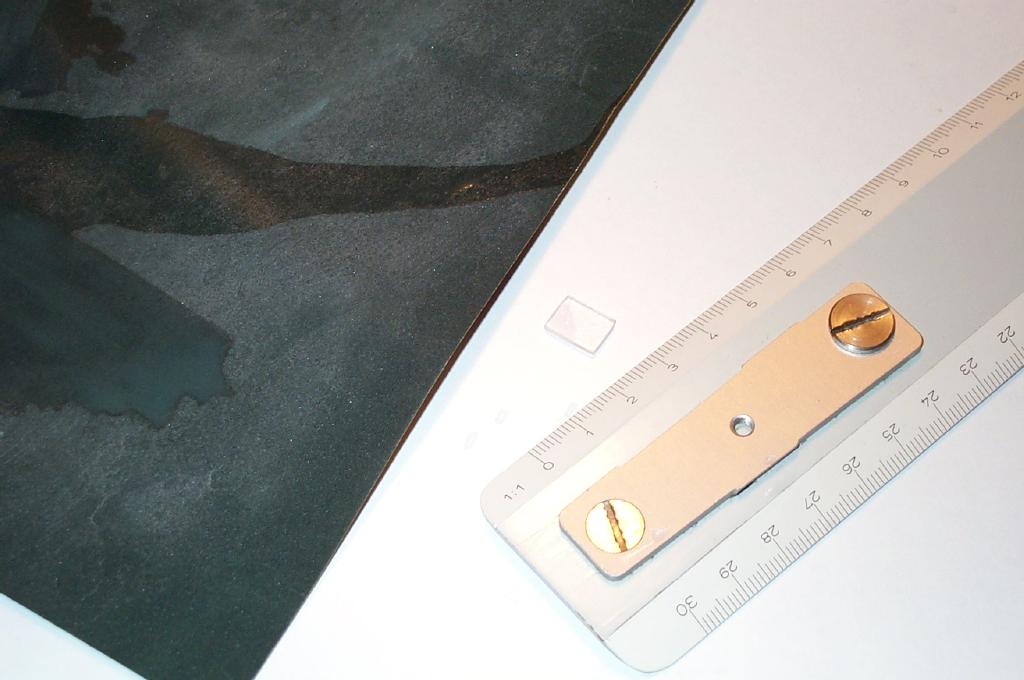
On my second camera I removed the original IR-blocking filter and replaced
it with another filter I created myself from a 1.75mm thick coated UV
filter. It took some head-scratching before I found a decent method to
cut the round filter into the tiny rectangular shape I needed. I borrowed
a small diamond cutting wheel for my Dremel (thanks Robert!), then cut
the raw size out of the round filter. This is tricky, as the glass
typically cracks once you cut through it halfway. Anyway, I ended with a
slightly bigger piece of glass (approximately 12x9mm) that I subsequently
ground down to the exact dimensions using 600 wet&dry sandpaper.
A picture of this procedure is shown below.
The home-grown filter is shown mounted in the camera below. Note the the
tiny rubber gasket. Don't forget to re-install the U-shaped brass bracket
when you re-assemble the camera.
Initial testing showed good sharpnes, I need to do some further testing
with daylight. The plan is to shoot side-by-side the #1 camera with the
original polished IR-filter and the #2 camera with the home-grown filter.
Re-assembly is basically the above steps in reverse order. Be careful to
put the right length screws into the right locations.
Given that I wanted a flexible solution to mount various filters on the lens
I turned a brass spacer ring on my lathe to mount a 35.5mm filter mount on the
little Kodak. That brass spacer ring plus filter ring I glued on the front
of the camera lens. I can now mount different filter types by putting them
in a surplus 35.5mm filter ring (acquired for a 1 EURO each at a camera
fair). In retrospect I would probably better have used a 37mm ring, as
there are IR filters readily available in 37mm for IR work with video
cameras.
My IR camera with it's lens extended next to its conventional brother with
lens retracted
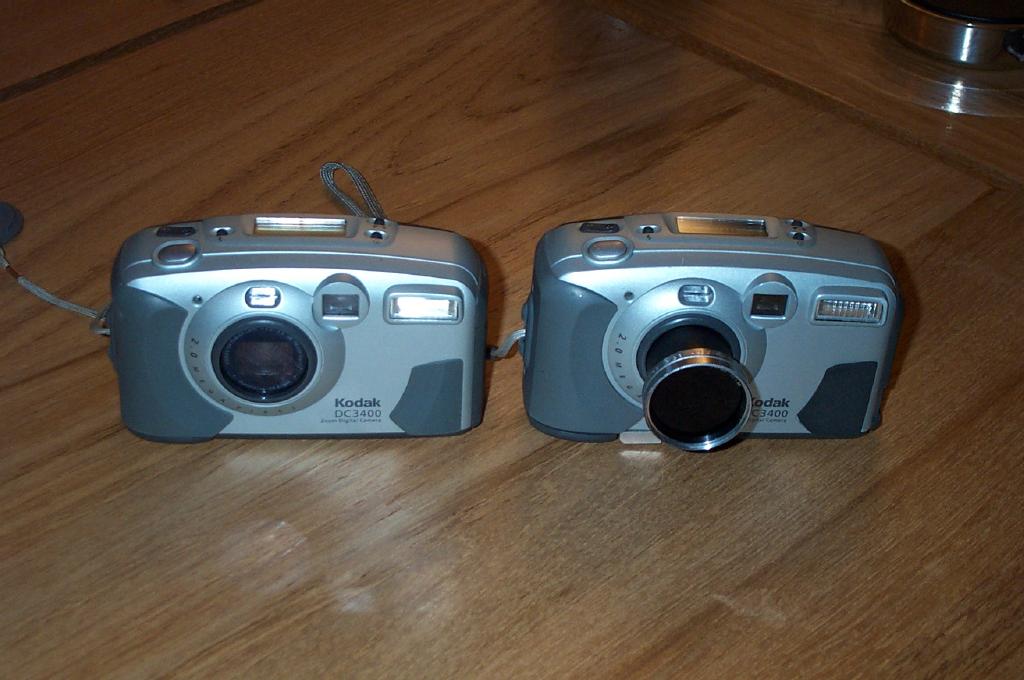
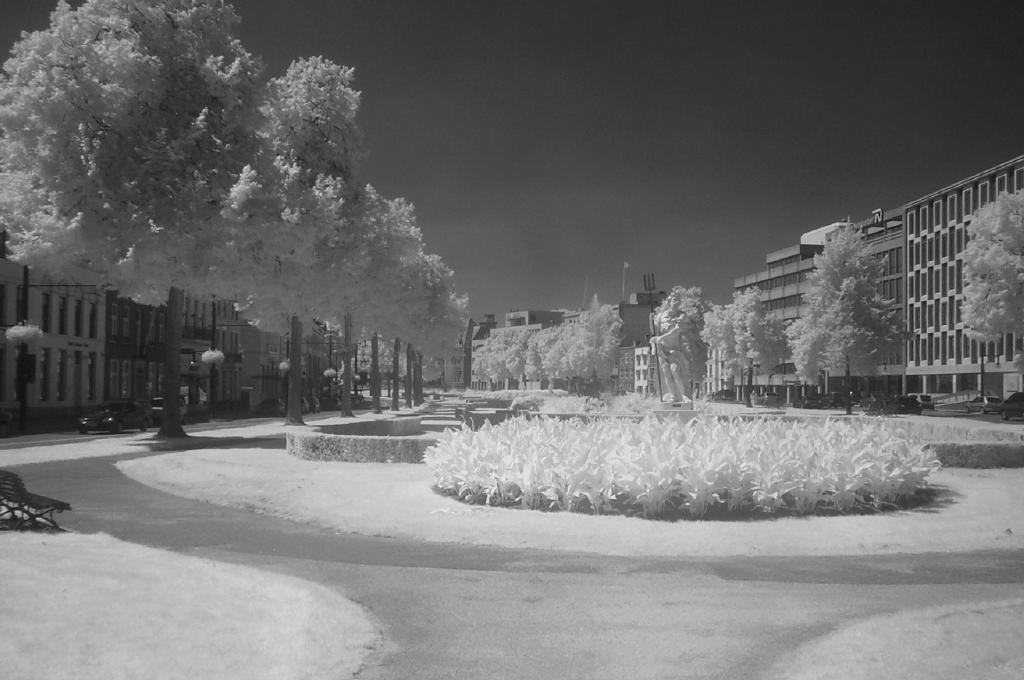
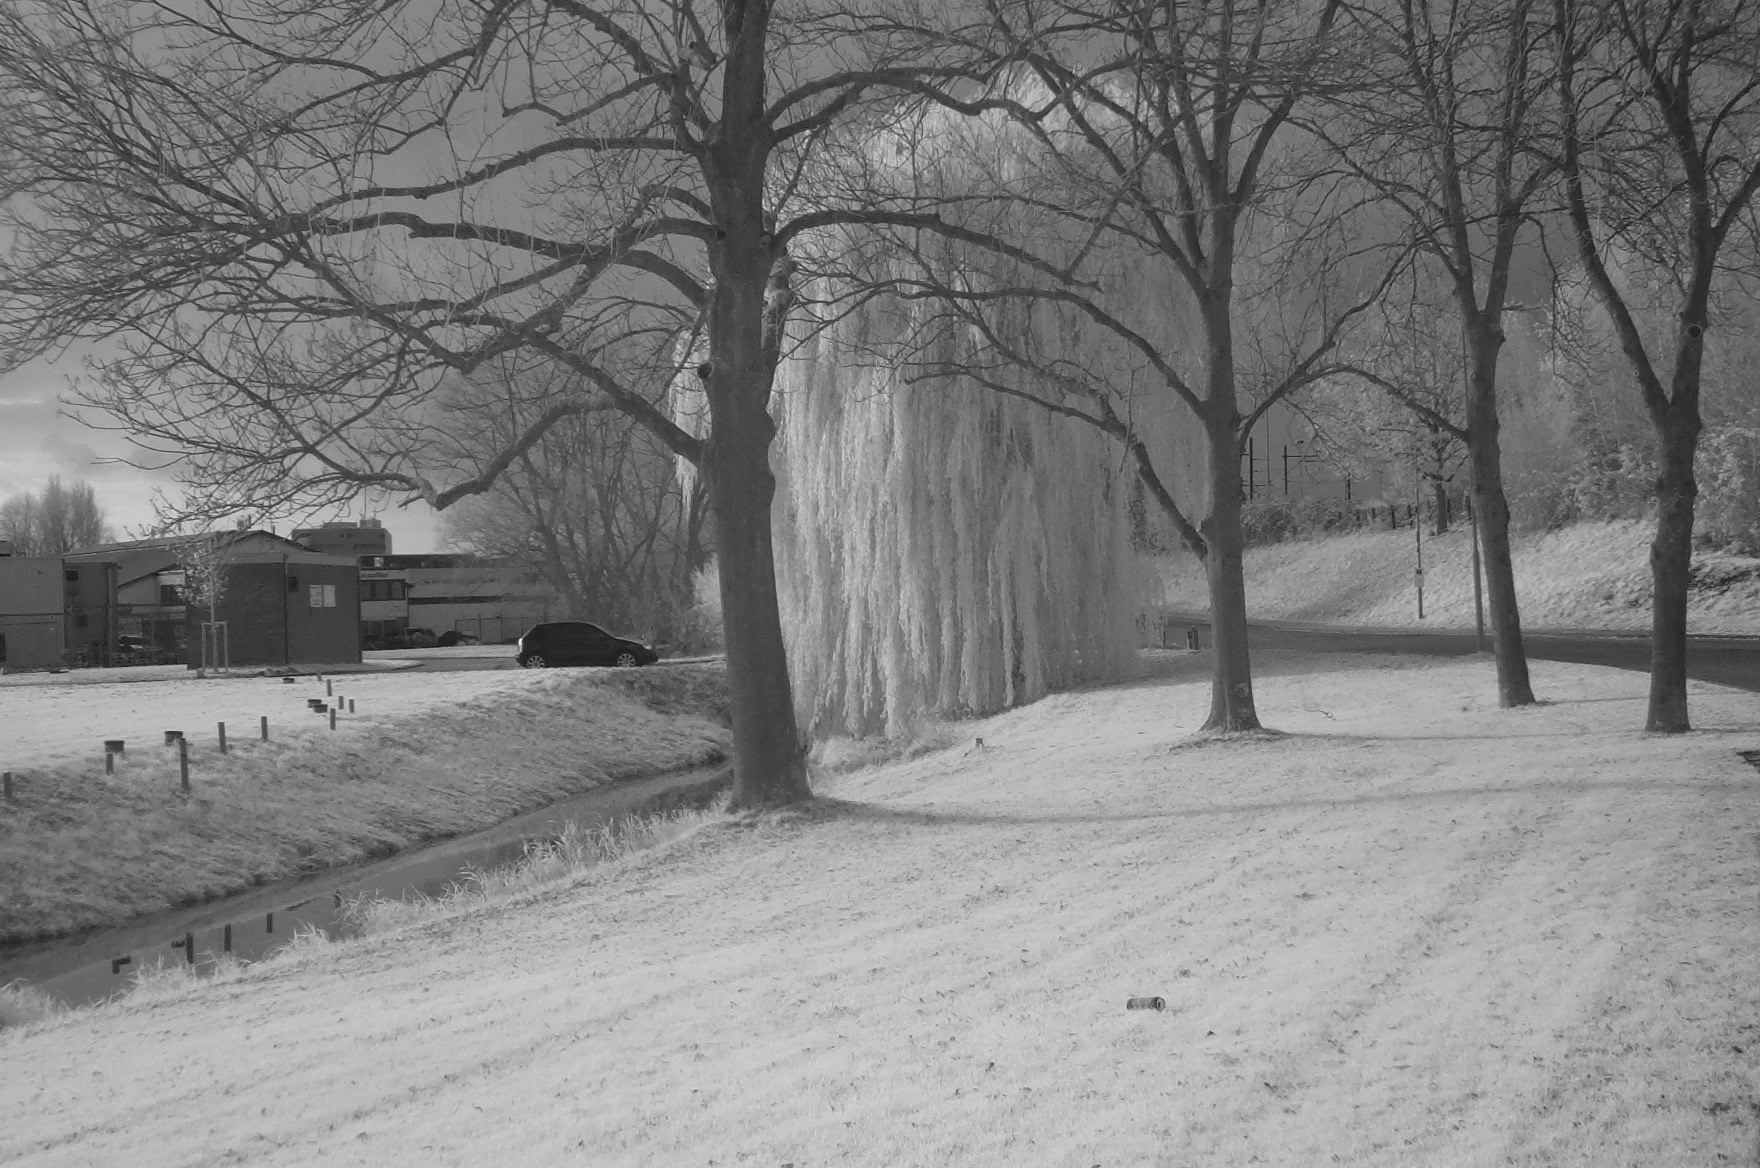
Image quality using a Wratten 87C filter plastic foil (0.4mm thick) that
I bought from Willem-Jan I personally find very satisfying. These pictures
are from the #1 camera, so with the polished-off IR filter.
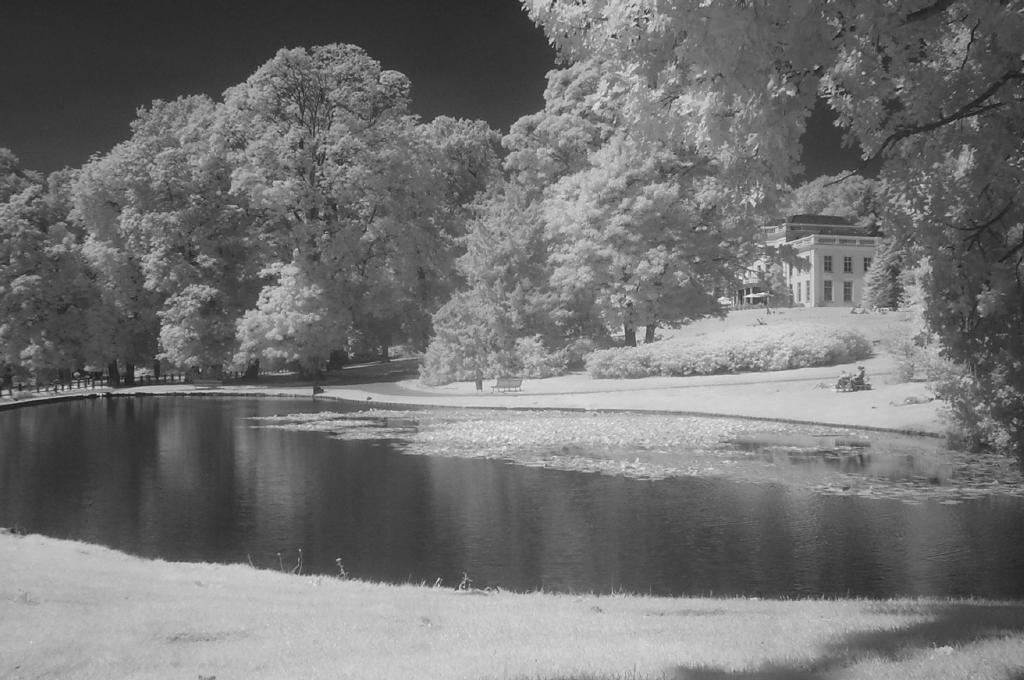
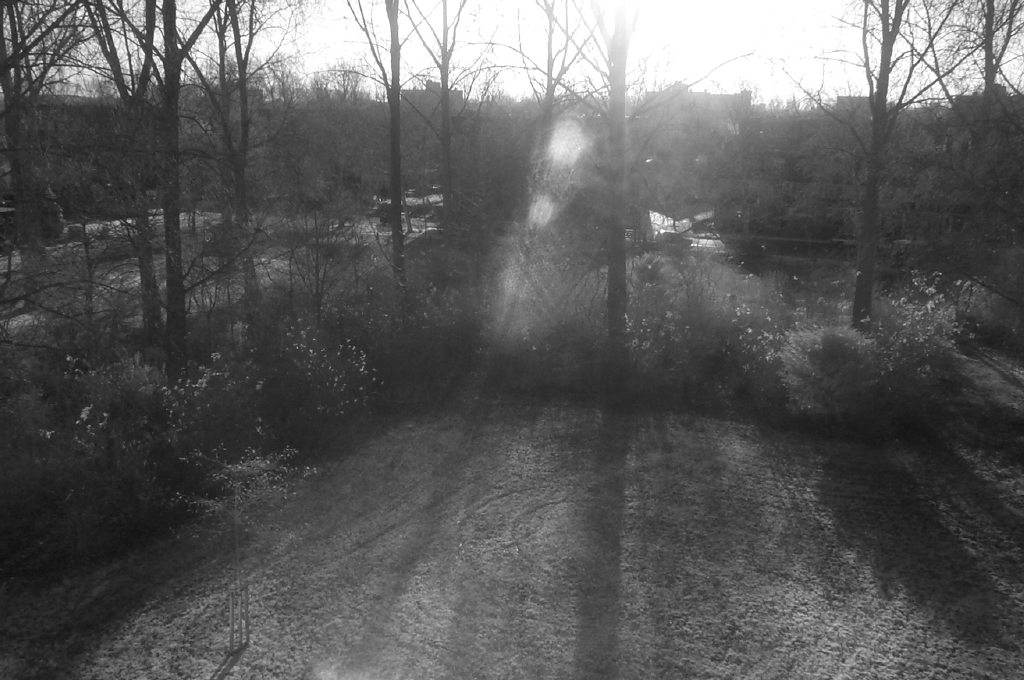
Below an (uninspiring) test shot with the #2 camera. The DIY filter appears
to work as anticipated.
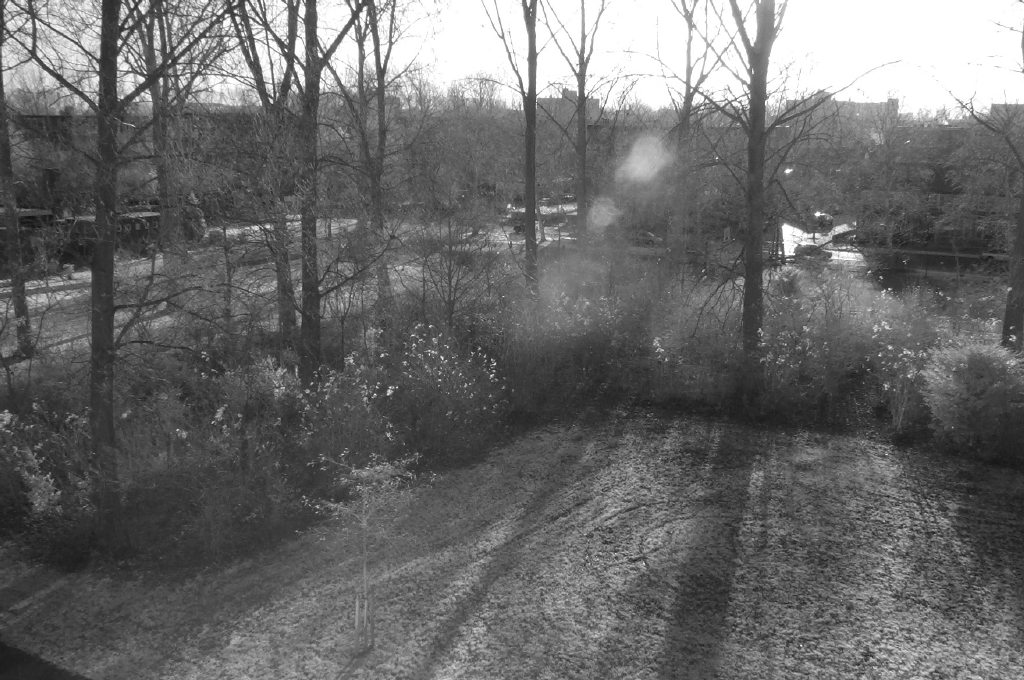
A side by side testshot with the polished filter (camera #1) versus the
one with the cut-down UV filter (camera #2) reveals that under difficult
lighting conditions the #2 camera wins hands down. The polishing has left
tiny scratches that give rise to flare with bright light directly entering
the lens.
Further plans
Last but not least I would like to find a piece of suitable IR-blocking
filter glass that I can use to make the converted camera behave "normally"
again. Suggestions on where to find suitable glass are very welcome.
Feel free to send me email on the
conversion.
© Wilko Bulte, 2007.
Last update:
Sun Dec 2 13:49:05 CET 2007